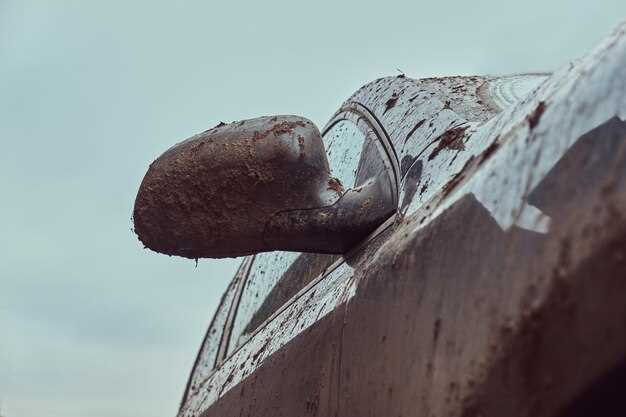
Rust damage can be a significant issue for truck owners, compromising both the appearance and structural integrity of the vehicle. Over time, exposure to moisture, road salt, and other corrosive elements can lead to unsightly rust spots that, if left untreated, can develop into larger problems. Understanding how to effectively address rust damage is essential for maintaining your vehicle’s longevity and value.
In this article, we will break down the rust repair process into simple, manageable steps. Whether you’re a seasoned DIY enthusiast or a beginner looking to learn the ropes, our guide will provide the clarity and guidance needed to tackle rust repair successfully. From assessing the extent of the damage to choosing the right materials and techniques, we aim to make this repair process as straightforward as possible.
Repairing rust damage not only enhances the aesthetic appeal of your truck but also prevents further deterioration that can lead to costly repairs down the line. By taking a proactive approach, you can ensure your vehicle remains in top condition for years to come. Let’s dive in and simplify the process of restoring your truck body!
Identifying Rust Types and Damage Severity

Rust damage on a truck body can manifest in various forms, primarily classified into three types: surface rust, scale rust, and penetrating rust. Understanding these types is essential for effective repairs and maintaining the integrity of your vehicle.
Surface rust is the initial stage of corrosion, appearing as small, reddish-brown spots on the metal surface. This type of rust is often superficial, affecting only the outer layer of paint and metal. It can be easily remedied through sanding and repainting, making it the least severe form of rust damage. Regular inspections can help catch surface rust early, preventing it from advancing to more serious stages.
Scale rust develops when surface rust is left untreated, leading to larger patches that flake and bubble. This indicates that the corrosion has penetrated deeper into the metal, compromising its protective layers. While still manageable, repairs for scale rust often require more intensive measures, such as chemical rust removers or even replacing sections of the metal. Detecting scale rust early can significantly reduce repair costs and efforts.
Penetrating rust is the most severe type, resulting from prolonged exposure to moisture and neglect. This type of rust creates holes in the metal, significantly weakening the truck’s structural integrity. Repairing penetrating rust typically involves cutting out the damaged sections and welding in new metal, which can be both time-consuming and costly. It’s crucial to address this level of rust damage promptly to ensure safety and avoid further deterioration.
In addition to identifying the types of rust, assessing damage severity is vital. Inspect the affected areas for signs such as discoloration, peeling paint, and structural weakness. Use a screwdriver or similar tool to probe for soft spots, which indicate deeper corrosion. Documenting the extent of rust damage can aid in planning appropriate repair methods and materials needed for restoration.
Overall, recognizing the type and severity of rust damage on your truck body will guide your repair process and help preserve your vehicle’s lifespan. Regular maintenance and proactive inspections can significantly reduce the risk of advanced rust damage.
Tools and Materials Needed for Rust Repair
Repairing rust damage on your truck body requires specific tools and materials to ensure a successful outcome. Below is a comprehensive list of what you will need.
First and foremost, gather safety gear, including gloves, safety goggles, and a mask to protect yourself from dust and fumes during the repair process. Proper ventilation is also crucial for a safe working environment.
Next, you will need rust removal tools. A wire brush or a grinder with a rust removal disc is essential for taking off loose rust and paint. For smaller areas, a sandpaper assortment ranging from coarse to fine grit can help achieve a smooth surface. An orbital sander can make this task easier and provide better results.
Once the rust is removed, it’s important to prepare the surface for repair. A rust-inhibiting primer is necessary to prevent future corrosion. Select a high-quality automotive primer that is compatible with your truck’s paint. Additionally, you’ll need automotive body filler or patching compound to fill any dents or holes created during rust removal.
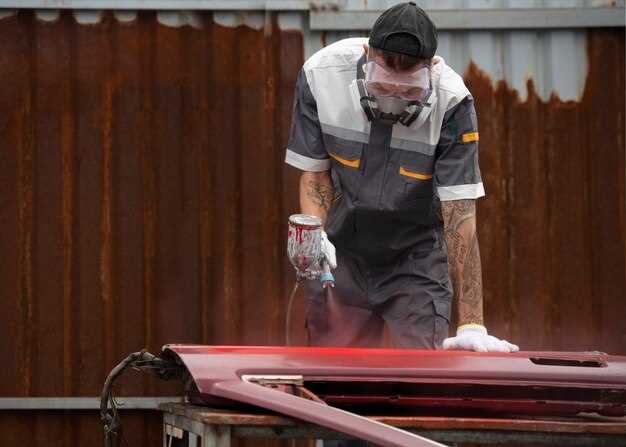
For the actual repainting process, you will need matching automotive paint and a clear coat for added protection. Here, using a spray gun can offer a more even application, although aerosol spray cans can also work for smaller areas.
Other helpful materials include masking tape to protect surrounding areas during painting, a scuff pad for surface preparation before applying primer, and rags or paper towels for cleaning up any spills or excess materials.
Finally, consider having rust prevention spray or a protective sealant on hand to coat the repaired area after painting. This will help prolong the life of your repair and keep your truck looking good.
Step-by-Step Guide to Repairing Rust Spots

Repairing rust spots on your truck body can be a manageable task if you follow a systematic approach. Start by gathering necessary tools and materials: sandpaper (various grits), rust remover or converter, primer, paint that matches your truck color, and clear coat for protection.
First, ensure that the area you will be working on is clean and dry. Use soap and water to wash the rust-affected area, removing dirt and grease. Dry it thoroughly with a clean cloth to prepare for sanding.
Next, assess the extent of the rust. For minor rust spots, begin sanding with coarse sandpaper to remove the rust layer completely. Gradually switch to finer grit sandpaper to smooth the surface. If the rust is deep or perforates the metal, you may need to cut out the damaged section and replace it with a patch.
After sanding, apply a rust remover or converter to prevent future corrosion. This product chemically converts rust into a non-reactive surface. Allow it to sit as per the manufacturer’s instructions, usually a few minutes, then rinse and dry the area again.
Once the surface is prepared, it’s time to apply primer. Use automotive primer designed for metal surfaces. Spray or brush a thin layer over the repaired area, ensuring even coverage. Let the primer dry thoroughly according to the instructions on the product.
After the primer is dry, apply the matching paint. This may require multiple coats for full coverage. Allow each coat to dry before applying the next. It’s essential to achieve a smooth and even finish.
Once the paint is completely dry, apply a clear coat to provide additional protection. This layer will help shield your truck from UV rays and moisture. Again, allow the clear coat to dry fully.
Finally, inspect your work for any imperfections. Sand down any rough spots and apply additional paint or clear coat if necessary. Regular maintenance and inspection will help prevent future rust issues and keep your truck looking great.


