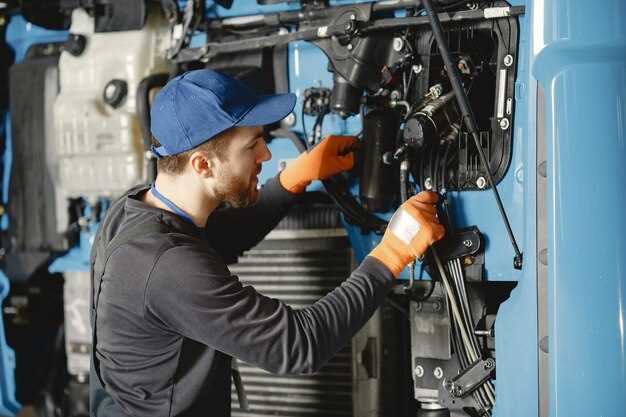
Replacing a truck battery might seem like a straightforward task, but it involves several important considerations to ensure both safety and effectiveness. A truck’s battery is a crucial component that powers not just the engine, but also various electrical systems. If neglected, a failing battery can lead to unexpected breakdowns and costly repairs.
In this article, we will explore the best practices for safely replacing your truck battery. Understanding the right tools, techniques, and precautions to adopt is vital in preventing accidents and damage to your vehicle. From choosing a compatible replacement battery to properly disposing of the old unit, each step plays a significant role in the overall process.
Whether you are a seasoned mechanic or a DIY enthusiast, having a well-organized approach to battery replacement can enhance your vehicle’s performance and reliability. Let’s delve into the specifics to ensure you can tackle this task confidently and safely.
Choosing the Right Replacement Battery for Your Truck

Selecting the appropriate replacement battery for your truck is crucial for optimal performance and longevity. Begin by identifying the specifications required for your vehicle. Consult your owner’s manual or the existing battery label to determine the correct group size, which ensures a proper fit in your truck’s battery compartment.
Next, consider the battery’s cold cranking amps (CCA) rating. This measurement indicates the battery’s ability to start the engine in cold temperatures. A higher CCA is essential for trucks used in colder climates or for applications that demand more power, such as towing. Conversely, if your truck operates primarily in warmer conditions, a lower CCA may suffice.
The type of battery also plays a significant role. Lead-acid batteries are the most common choice due to their affordability and reliability. However, if you need enhanced performance and longer life, consider an absorbed glass mat (AGM) battery. AGM batteries are more resilient to vibrations and have a lower self-discharge rate, making them suitable for heavy-duty trucks.
Also, examine the battery’s reserve capacity (RC), which indicates how long the battery can power your truck’s electrical systems in the event of an alternator failure. A higher RC value provides additional security during emergencies.
Finally, evaluate the warranty offered by the battery manufacturer. A longer warranty period typically reflects greater confidence in the product’s durability. Make sure to choose a reputable brand known for quality to avoid premature battery failure.
Step-by-Step Guide to Safely Removing Your Old Battery

Removing an old battery from your truck is a crucial step in the replacement process. Follow these detailed steps to ensure safety and efficiency during the removal.
Step 1: Gather Necessary Tools
Before starting, gather the following tools: a wrench or socket set, safety goggles, gloves, and a battery terminal cleaner. Having everything at hand will make the process smoother.
Step 2: Prepare Your Truck
Ensure your truck is parked on a flat surface with the engine turned off. Engage the parking brake. If possible, disconnect any electronic devices to avoid accidental engagement.
Step 3: Wear Safety Gear
Put on safety goggles and gloves to protect yourself from any potential acid spills and electrical hazards. This is a vital step to ensure your safety during the process.
Step 4: Locate the Battery
Open the hood and locate the battery. Familiarize yourself with the positive (+) and negative (-) terminals. This knowledge will be essential in the next steps.
Step 5: Disconnect the Negative Terminal
Using the wrench, loosen the nut on the negative terminal first. Carefully lift the cable off the terminal and secure it away from the battery to prevent accidental contact during the removal process.
Step 6: Disconnect the Positive Terminal
Next, loosen the nut on the positive terminal. Once loosened, lift the cable off, ensuring it does not touch any metal parts of the truck while you work.
Step 7: Remove Battery Hold-Downs
Inspect for any clamps or hold-down brackets securing the battery in place. Use the appropriate tool to remove these components. Keep them in a safe place for future use.
Step 8: Lift the Battery Out
With the terminals disconnected and the battery secured, carefully lift the battery straight up to avoid spilling any acid. Batteries can be heavy, so maintain a firm grip and use your legs to lift.
Step 9: Inspect and Clean the Battery Tray
After removal, inspect the battery tray for corrosion or debris. Clean the tray using a battery terminal cleaner to prepare it for the new battery. This will ensure a secure fit and optimal performance for the new installation.
Step 10: Dispose of the Old Battery Properly
Take the old battery to a local recycling center or automotive shop for proper disposal. Avoid throwing it in the trash, as batteries contain harmful substances that can be damaging to the environment.
By following these steps, you will safely remove your old truck battery and prepare for the installation of a new one. Always prioritize safety throughout the process.
Proper Installation Techniques for Your New Truck Battery
Replacing your truck battery can be straightforward if done correctly. Adhering to proper installation techniques ensures not only the longevity of your battery but also the safety of the vehicle. Follow these steps for a successful installation:
- Gather the Necessary Tools:
- Wrench or socket set
- Screwdriver
- Battery terminal cleaner or brush
- Safety gloves and goggles
- New battery suitable for your truck model
- Prepare Your Workspace:
Park your truck on a flat surface and turn off the ignition. Ensure the area is well-ventilated and free from flammable materials.
- Remove the Old Battery:
- Disconnect the negative terminal (-) first to prevent electrical shorting.
- Follow with the positive terminal (+).
- Remove any securing brackets or straps holding the battery in place.
- Carefully lift the old battery out, using caution as batteries are heavy.
- Clean the Battery Tray and Terminals:
Use the battery terminal cleaner to remove any corrosion or debris from the tray and terminals to ensure a good connection.
- Install the New Battery:
- Position the new battery in the tray, ensuring it fits securely.
- Reconnect the positive terminal (+) first to ensure safe handling.
- Follow with the negative terminal (-).
- Secure the battery with brackets or straps to prevent movement.
- Conduct a Final Check:
Ensure all connections are tight and there are no hazards. Check that the battery is properly secured and positioned.
- Start the Vehicle:
Turn the ignition to start the truck. Monitor dashboard indicators to ensure proper function.
By following these proper installation techniques, you will ensure that your new truck battery is safely and effectively connected, contributing to reliable vehicle performance.


